ODTISKOVANJE
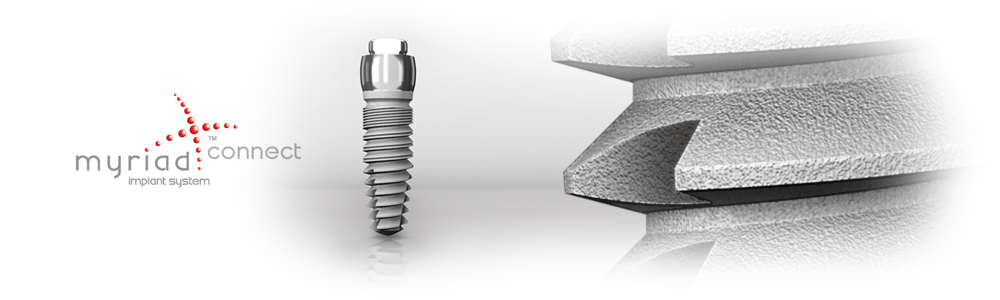
Na naslednjih straneh so opisane tehnike odtiskovanja in laboratorijski postopki za implantat Myriad-Connect™.
 |
 |
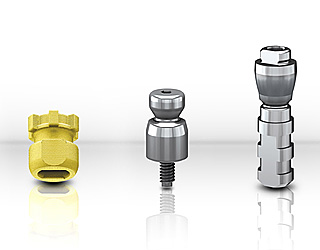
| Za tehniko odtiskovanja z zaprto žlico je za implantat Myriad-Connect™ v pakiranju "all-in-one" na voljo plastični odtisnik (odtisna kapica). kot dodatna komponenta je na voljo tudi titanov odtisnik. Laboratorijski prenosnik je del originalnega pakiranja. |
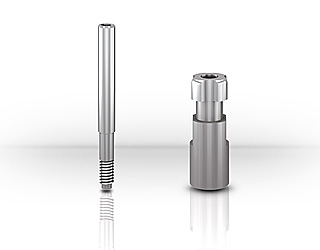
Za implantat Myriad-Connect™ za tehniko odtiskovanja z odprto žlico je na voljo odtisnik z dolgim vijakom. |
Zaprta žlica - uporaba odtisne kapice
|
The gingivaformer is removed and the yellow plastic single use snap on transfer cap is pressed/snap fitted onto the prosthetic platform face. Impression material is syringed around the cap that is locked into and picked up in the impression |
|
The laboratory analog is repositioned into the transfer cap within the model following which standard model making procedures are followed. |
Zaprta žlica - uporaba odtisnika
|
The impression post is simply screwed into the implant after removing the gingivaformer. Impression material is syringed around the impression post and the tray seated in place and removed after the impression is set. |
|
The impression post is removed and the gingivaformer re-seated.
The impression post is now secured into the laboratory analog and repositioned into the impression. A tactile snap is felt when the post engages the circumferential undercut groove it created within the impression.
|
Odprta žlica - pick-up tehnika
|
The open tray impression post with the long screw is fastened into the implant. Impression material is syringed around the impression post and the tray with an open window seated over the impression post to expose the screw extended beyond the tray. Once the material has set, the screw is opened and the tray removed with the impression post locked into the impression. |
|
The laboratory analog is placed onto the impression post within the impression and the screw fastened through the tray opening to secure the entire assembly. Model making procedures are carried out as per standard protocols. |
LABORATORIJSKI POSTOPKI - Myriad-Connect™ Ball
Na naslednjih straneh so opisani laboratorijski postopki za izdelavo nadgradenj na implantatih Myriad-Connect™ bar, ball in locator. Prikazana je izdelava snemne totalne proteze in snemne fiksne protetike.
 |
 |
 |
| Overdenture fabrication with Ball attachments. |
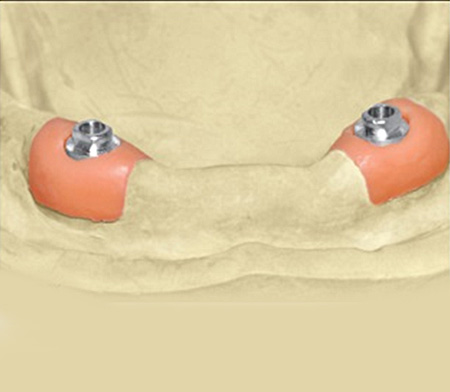
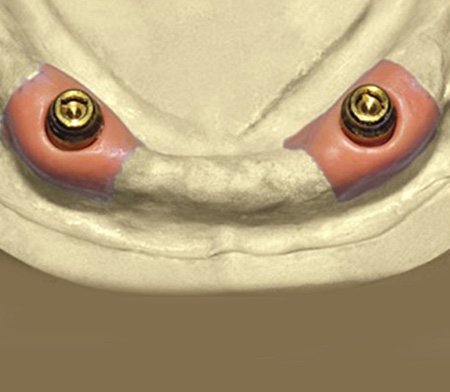
Ball attachments screwed into the laboratory analogs. |
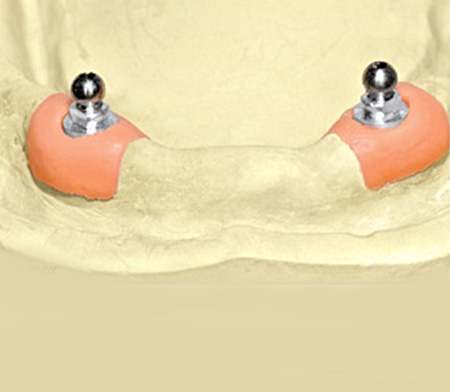
Gold matrices placed on the ball attachments. |
 |
 |
|
| Silicone spacers in place around the gold matrices and blocking out of the undercuts with wax. Flasking of the denture is now proceeded with over this blocked out situation where the denture acrylic engages only the undercuts on the gold matrices and get locked into the denture base during acrylisation. |
Finished overdenture with the matrices in place. |
|
LABORATORIJSKI POSTOPKI - Myriad-Connect™ Bar
 |
 |
 |
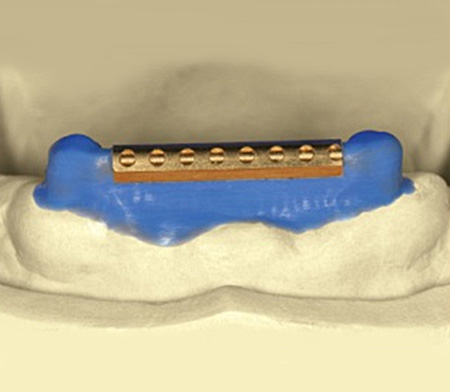
| Overdenture fabrication with a bar and clip attachment. |
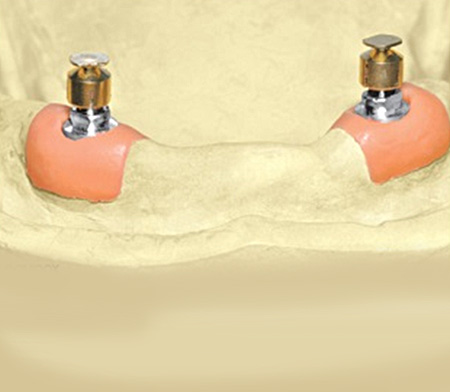
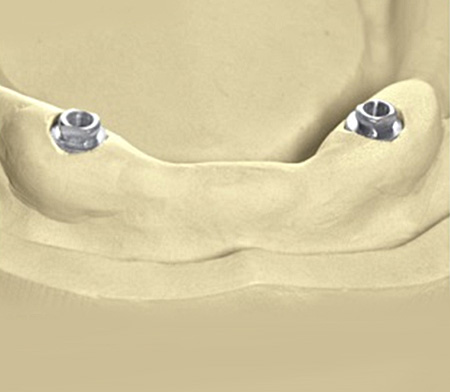
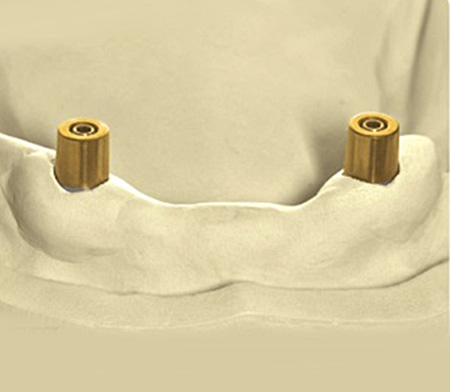
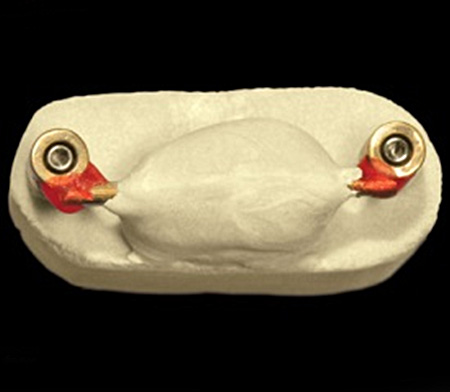
Gold bar abutments on the laboratory analogs. |
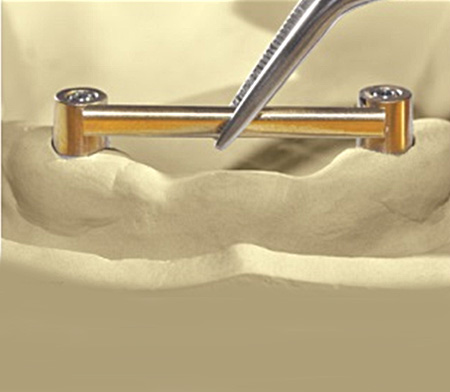
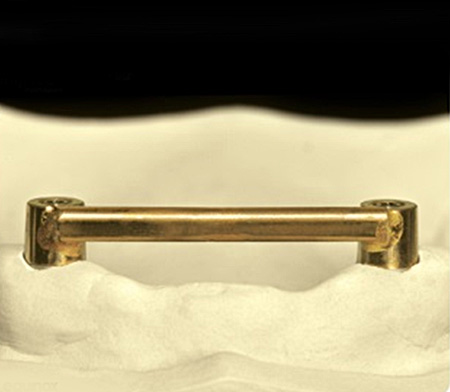
The prefabricated bar is cut to the individual length. |
 |
 |
 |
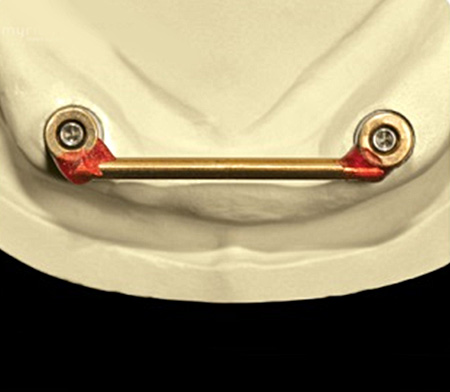
| The bar is fixed to the bar abutments using Pattern Resin (GC) or Duralay. |
The bar ready for investing. |
The invested bar on the soldering model. |
 |
 |
 |
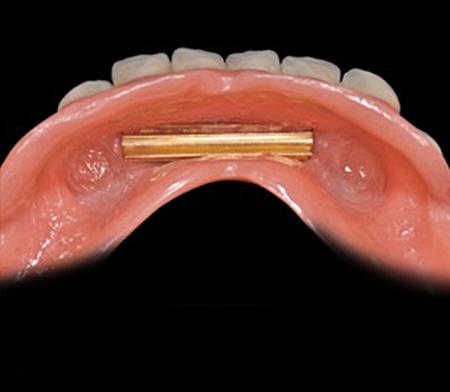
| The soldered bar in place. |
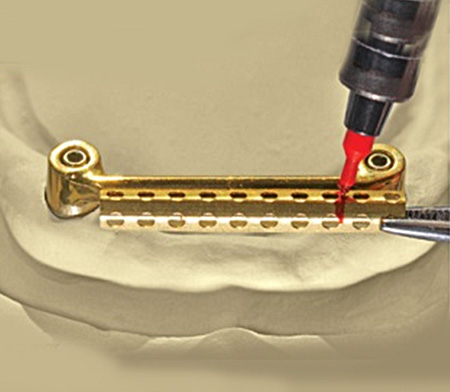
The matrix / clip is marked for cutting to the individual length. |
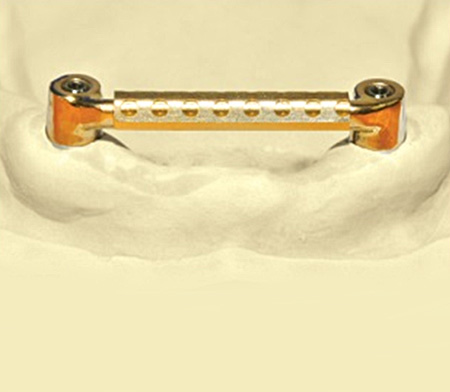
The finished bar with matrix in place. |
 |
 |
 |
| Before flasking and pressing the denture the undercuts are blocked using wax. |
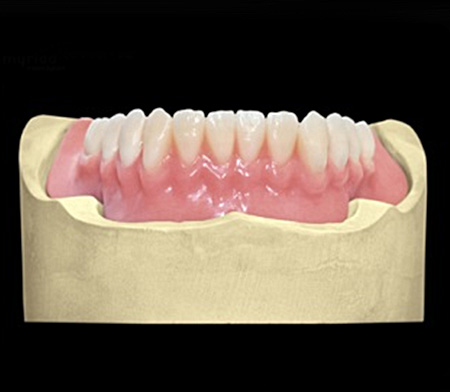
Finished overdenture. |
The bar clip in place in the denture. |
LABORATORIJSKI POSTOPKI - Myriad-Connect™ Locator
 |
 |
 |
| Overdenture fabrication using Locator attachments. |
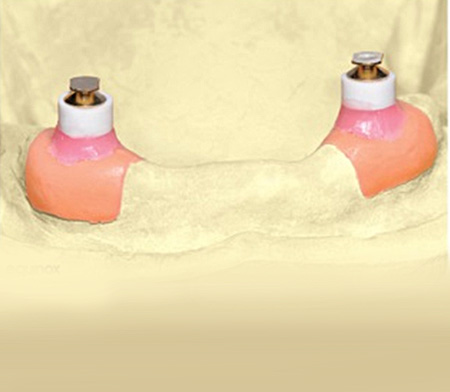
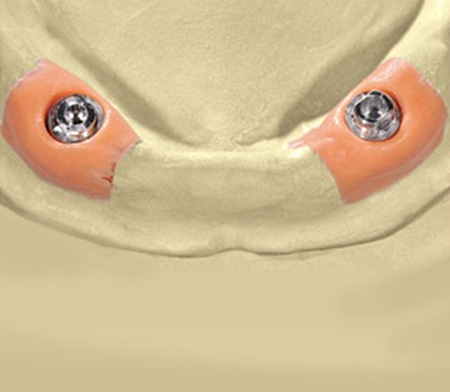
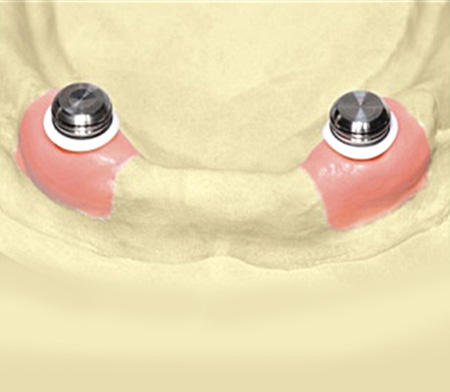
Locator abutments in place on the laboratory analogs. |
Locator matrices on the abutments using the silicone spacers for blocking out the undercuts prior to acrylisation. |
 |
|
|
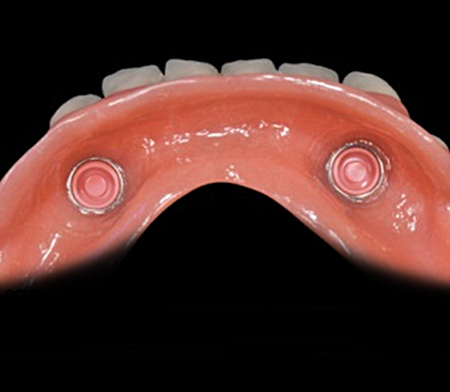
| The locator matrices in place in the denture. |
|
|
LABORATORIJSKI POSTOPKI - Myriad-Connect™ Locator
 |
 |
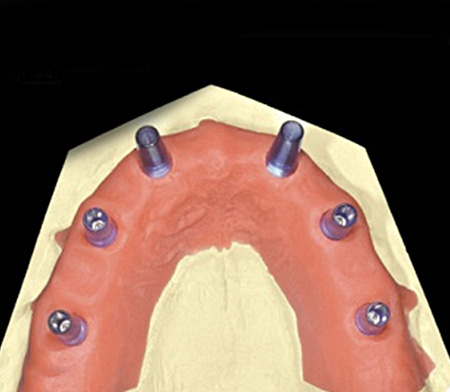 |
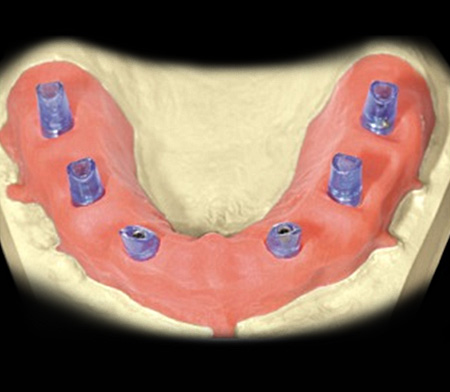
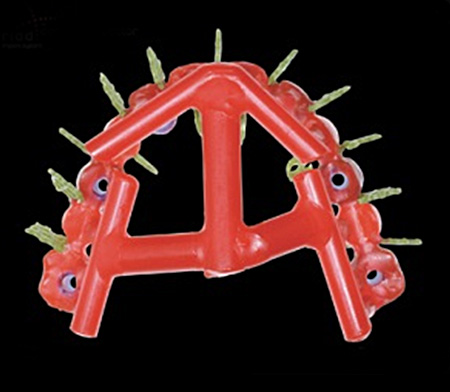
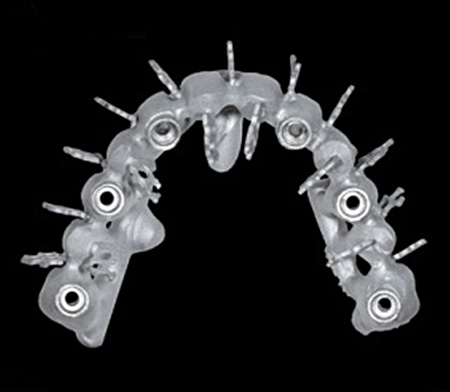
| Hybrid bridge construction. |
The castable sleeves are shortened and individualized. |
Myriad-Connect™ castable hybrid sleeves fastened in place with the abutment screws. |
 |
 |
 |
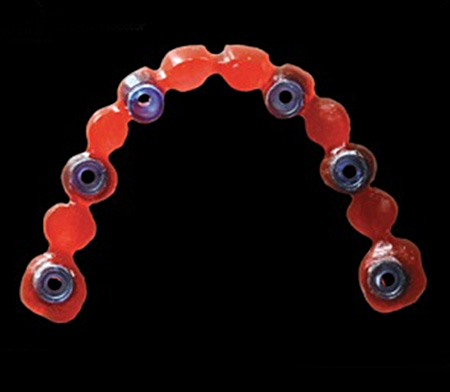
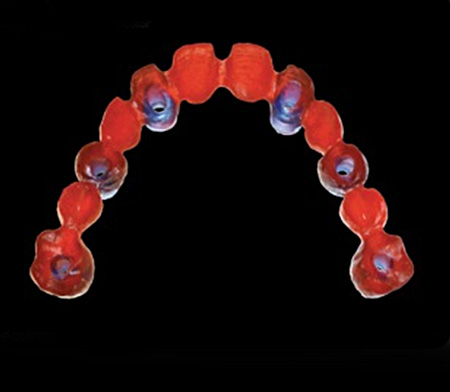
| The castable framework made out of castable sleeves and Pattern Resin for stability and wax-up. |
The wax-up from the occlussal. |
Careful preparation of the sprue springs for investing the wax-up before casting. |
 |
 |
 |
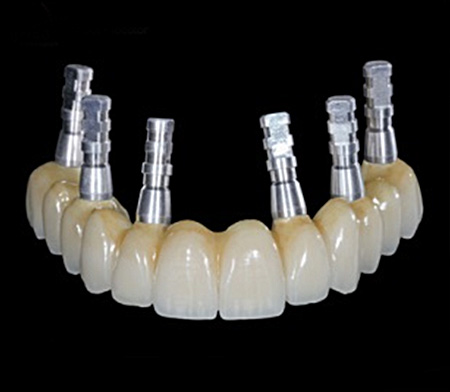
| Rough casting of the hybrid prostheses. |
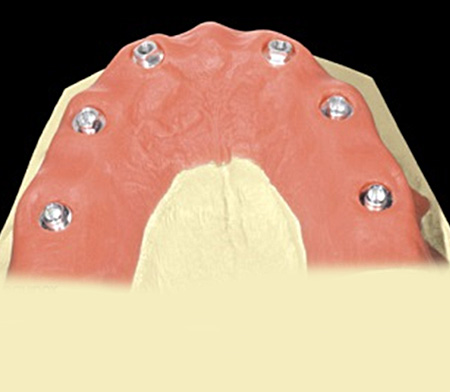
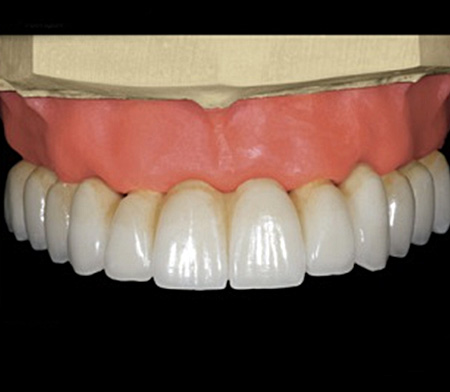
The finished prostheses mounted on lab-analogs to show the implant orientation. |
The finished prosthese after ceramic layering in place. |