KIRURŠKI POSTOPEK – SMART


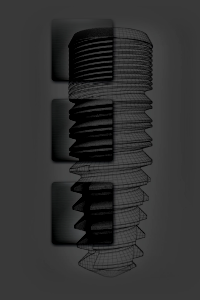
Na naslednjih straneh je korak za korakom opisan kirurški protokol vstavitve implantata Myriad-Smart™  D4.5 L13.


Initial  access of the osteotomy site is made using the D2.0mm pilot drill.

The pilot drill is used to establish depth and axis/direction  of drilling.

Once the depth is established with the pilot drill it is not advisable to change or vary drill depth with subsequent drills but only to progressively widen the osteotomy site.  Direction or axis of drilling can be varied slightly if required with subsequent drills. Recommended drill speeds with the pilot drill is between 800-1000 RPM.

In the representation here the pilot drilling is made to a depth of 13mm as the final implant being placed is a D4.5 L13mm implant.


 Following the pilot drilling upto a depth of 13mm the osteotomy site is progressively widened  with the D3.3mm drill upto the same depth.


The osteotomy site is then prepared  with the subsequent D3.8mm drill in the sequence to the depth of 13mm.  Drill speeds recommended are 500-800 RPM. 


 The final drill in the sequence D4.5mm is placed to a length of 13mm as required  to finish the osteotomy site for the implant to be placed. Drilling speed recommended here is between 500-800 RPM.


 The implant blister is peeled open to expose the Myriad-Smart™  implant that is housed in a titanium vial alongside the comfort caps.  The Smart insertion adapter can be inserted into the torque ratchet or directly into the handpiece with which the implant can be directly lifted off from the packaging and delivered to the osteotomy site.


 The implant can be inserted/turned into place using the torque ratchet or the handpiece.  In case the handpiece is used it must be inserted upto the top microthread using the micromotor.


 Final tightening is recommended to be done by the torque ratchet with an optimal insertion torque of between 35-45Ncm.


The patient is asked to gently close the mouth. If there is adequate interocclusal gap between the top of the implant and the opposing tooth, the long comfort cap is placed on the abutment. 


In case when the patient closes the mouth and the abutment is hitting the opposing tooth, the abutment needs to be prepped.


 Using  a carbide  metal cutting bur the abutment can be prepped upto the marking indicated to provide  for adequate inter-occlusal clearance.


V prikazanem primeru se uporabi kratek zaščitni nastavek.